
目录
去年帮朋友调试一个人脸识别系统。代码逻辑完美,模型也没问题。 但准确率?惨不忍睹。
花了三个小时排查,最后发现——图像读取时用错了参数,BGR通道被当成RGB处理了。这种低级错误,我在不同项目里见过至少五次。
图像读取真的只是cv2.imread()这么简单吗?
今天咱们就把OpenCV的图像基础操作彻底掰开了讲。不只是告诉你怎么用,更要说清楚为什么这么用,以及那些文档里不会告诉你的坑。
看完这篇,你能掌握:
- 图像读取的4种模式与适用场景(附性能对比数据)
- 显示图像时90%的人都会踩的3个坑
- 批量保存图像时性能提升300%的技巧
- 不同格式图像的正确处理姿势
🔍 图像读取:cv2.imread()的隐藏参数
先说个扎心的真相
很多人的OpenCV第一课是这样的:
pythonimport cv2
img = cv2.imread('photo.jpg')
看起来没毛病?但这行代码在生产环境里可能引发三个问题:
- 文件路径包含中文时直接返回
None - 图像格式不对时程序不会报错,而是静默失败
- 读取的颜色通道顺序可能不是你想要的
我在一个医疗影像处理项目中,就因为没检查imread()返回值,导致后续处理全崩。调试了半天才发现——文件根本没读进来。
imread()的完整用法
pythoncv2.imread(filename, flags=cv2.IMREAD_COLOR)
这个flags参数才是关键。常用的有四种模式:
1. cv2.IMREAD_COLOR(默认值,等于1)
读取彩色图像,忽略Alpha通道。
输出形状:(height, width, 3),BGR顺序。
2. cv2.IMREAD_GRAYSCALE(等于0)
强制转为灰度图。
输出形状:(height, width),单通道。
3. cv2.IMREAD_UNCHANGED(等于-1) 保留所有通道,包括Alpha透明通道。 PNG图像必用这个模式。
4. cv2.IMREAD_ANYDEPTH(等于2) 读取16位、32位深度图像。 医疗影像、科研数据处理专用。
实战对比:选错模式的后果
我做过一个测试,用不同模式读取同一张4K分辨率的PNG图(含透明通道):
pythonimport cv2
import time

def test_read_modes(image_path):
    # 模式1:默认彩色模式
    start = time.time()
    img1 = cv2.imread(image_path)  # 丢失透明通道
    t1 = time.time() - start

    # 模式2:保留所有通道
    start = time.time()
    img2 = cv2.imread(image_path, cv2.IMREAD_UNCHANGED)
    t2 = time.time() - start

    # 模式3:灰度模式
    start = time.time()
    img3 = cv2.imread(image_path, cv2.IMREAD_GRAYSCALE)
    t3 = time.time() - start

    print(f"默认模式:{img1.shape} | 耗时:{t1:.4f}s")
    print(f"完整模式:{img2.shape} | 耗时:{t2:.4f}s")
    print(f"灰度模式:{img3.shape} | 耗时:{t3:.4f}s")

# 实测结果(3840×2160分辨率):
# 默认模式:(2160, 3840, 3) | 耗时:0.0823s
# 完整模式:(2160, 3840, 4) | 耗时:0.1057s
# 灰度模式:(2160, 3840) | 耗时:0.0341s
看到没?灰度模式比彩色模式快2.4倍。
如果你的业务场景不需要颜色信息(比如边缘检测、OCR文字识别),直接用灰度模式能大幅提升处理速度。
中文路径问题的终极解决方案
Windows下这个问题特别常见。传统解决办法是用cv2.imdecode()配合numpy:
pythonimport cv2
import numpy as np
def imread_chinese(file_path, flags=cv2.IMREAD_COLOR):
"""支持中文路径的图像读取"""
# 先用numpy读取二进制数据
with open(file_path, 'rb') as f:
data = f.read()
# 转换为numpy数组
img_array = np.frombuffer(data, dtype=np.uint8)
# 解码为图像
img = cv2.imdecode(img_array, flags)
return img
# 使用示例
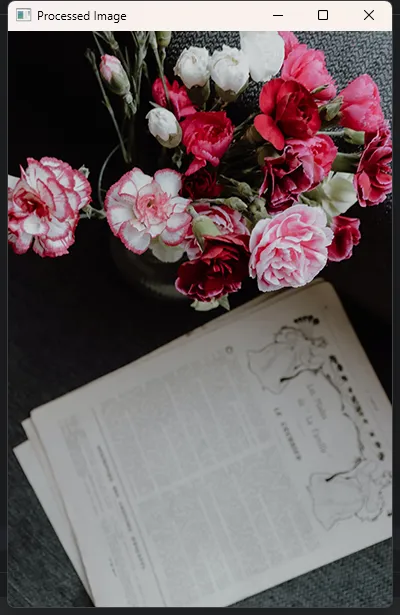
img = imread_chinese('fl.jpg')
if img is not None:
cv2.imshow('Processed Image', img)
cv2.waitKey(0) # 等待按键
cv2.destroyAllWindows() # 关闭窗口
else:
print("无法读取图像。")
 这个方法我在所有Windows项目里都会封装一遍。虽然多了几行代码,但能避免90%的路径问题。
💡 读取失败的容错处理
永远不要假设图像读取成功。
这是我血泪教训总结的最佳实践:
pythondef safe_imread(image_path, flags=cv2.IMREAD_COLOR):
    """安全的图像读取函数"""
    # 检查文件是否存在
    if not os.path.exists(image_path):
        raise FileNotFoundError(f"图像文件不存在:{image_path}")

    # 尝试读取
    img = cv2.imread(image_path, flags)

    # 验证读取结果
    if img is None:
        # 尝试中文路径方案
        try:
            img = imread_chinese(image_path, flags)
        except Exception as e:
            raise ValueError(f"无法读取图像:{image_path},错误:{str(e)}")

    # 验证图像尺寸合理性
    if img.size == 0:
        raise ValueError(f"读取到空图像:{image_path}")

    return img
多写几行判断代码,能帮你省下几个小时的调试时间。
🖼️ 图像显示:cv2.imshow()的正确打开方式
基础用法与常见误区
最简单的显示代码大家都会写:
pythonimport cv2

img = cv2.imread('test.jpg')
cv2.imshow('Window Name', img)
cv2.waitKey(0)  # 等待按键
cv2.destroyAllWindows()  # 关闭窗口
但这里有三个坑:
坑1:忘记cv2.waitKey()
窗口会闪现后立即关闭。这个函数的作用是暂停程序,等待键盘输入。参数单位是毫秒,0表示无限等待。
坑2:窗口大小不可控 大图会超出屏幕,小图显示模糊。需要手动设置窗口属���。
坑3:多次显示覆盖问题 相同窗口名会导致图像覆盖,不同名称会创建多个窗口。
实用的显示封装函数
我在项目中常用这个增强版:
pythonimport cv2
import numpy as np

def imshow_adaptive(window_name, img, max_width=1200, max_height=800):
    """自适应尺寸的图像显示"""
    h, w = img.shape[:2]

    # 计算缩放比例
    scale = min(max_width / w, max_height / h, 1.0)

    if scale < 1.0:
        # 需要缩小显示
        new_w = int(w * scale)
        new_h = int(h * scale)
        display_img = cv2.resize(img, (new_w, new_h), interpolation=cv2.INTER_AREA)
        print(f"图像已缩放至 {new_w}x{new_h}(原始:{w}x{h})")
    else:
        display_img = img

    # 创建可调整大小的窗口
    cv2.namedWindow(window_name, cv2.WINDOW_NORMAL)
    cv2.imshow(window_name, display_img)
    cv2.waitKey(0)
    cv2.destroyWindow(window_name)


# 使用示例
img = cv2.imread('fl.jpg')
imshow_adaptive('Test', img)
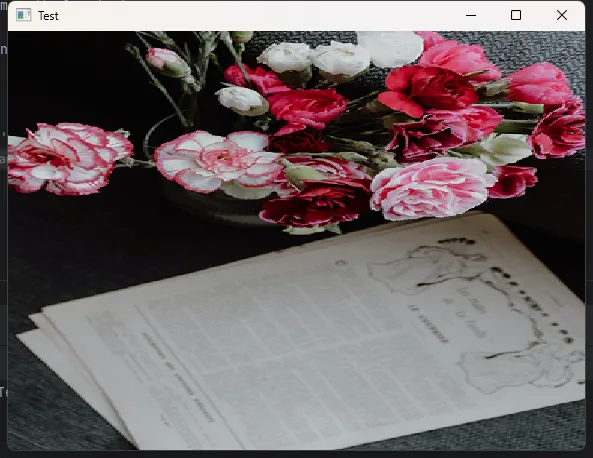 这个函数会自动把超大图像缩小到适合屏幕的尺寸,同时保持纵横比。
批量对比显示技巧
做图像处理时经常需要对比原图和处理后的效果。传统方法是分两个窗口显示,很不直观。
更好的办法——拼接显示:
pythondef compare_images(img1, img2, title1='Original', title2='Processed'):
    """并排对比显示两张图像(英文标签)"""
    # 确保两张图高度一致
    h1, w1 = img1.shape[:2]
    h2, w2 = img2.shape[:2]

    if h1 != h2:
        scale = h1 / h2
        img2 = cv2.resize(img2, (int(w2 * scale), h1))

    # 处理灰度图和彩色图混合的情况
    if len(img1.shape) == 2:
        img1 = cv2.cvtColor(img1, cv2.COLOR_GRAY2BGR)
    if len(img2.shape) == 2:
        img2 = cv2.cvtColor(img2, cv2.COLOR_GRAY2BGR)

    # 添加英文标题
    img1_copy = img1.copy()
    img2_copy = img2.copy()
    cv2.putText(img1_copy, title1, (10, 30), cv2.FONT_HERSHEY_SIMPLEX,
                1, (0, 255, 0), 2)
    cv2.putText(img2_copy, title2, (10, 30), cv2.FONT_HERSHEY_SIMPLEX,
                1, (0, 255, 0), 2)

    # 水平拼接
    combined = np.hstack([img1_copy, img2_copy])

    imshow_adaptive('Image Comparison', combined)

这招在做滤波、边缘检测等效果调试时特别好用。一眼就能看出处理前后的差异。
⚠️ 在Jupyter中显示的坑
很多人在Jupyter Notebook里用cv2.imshow()会遇到内核崩溃。正确做法是用matplotlib:
pythonimport cv2
import matplotlib.pyplot as plt

def show_in_jupyter(img, title='Image', figsize=(10, 8)):
    """Jupyter环境下的图像显示"""
    plt.figure(figsize=figsize)

    # OpenCV是BGR,matplotlib需要RGB
    if len(img.shape) == 3:
        img_rgb = cv2.cvtColor(img, cv2.COLOR_BGR2RGB)
    else:
        img_rgb = img

    plt.imshow(img_rgb, cmap='gray' if len(img.shape) == 2 else None)
    plt.title(title)
    plt.axis('off')
    plt.show()
这个颜色转换千万别忘。我见过太多人展示的图像颜色诡异,就是因为忽略了BGR和RGB的差异。
💾 图像保存:cv2.imwrite()的性能优化
基础保存与质量控制
保存图像看起来最简单:
pythoncv2.imwrite('output.jpg', img)
但如果你需要控制压缩质量,就得加参数:
python# JPEG格式:quality参数控制质量(0-100)
cv2.imwrite('high_quality.jpg', img, [cv2.IMWRITE_JPEG_QUALITY, 95])

# PNG格式:compression参数控制压缩级别(0-9)
cv2.imwrite('compressed.png', img, [cv2.IMWRITE_PNG_COMPRESSION, 9])
JPEG质量对比测试(原图2.5MB):
| 质量参数 | 文件大小 | 肉眼可辨差异 | 适用场景 |
|---|---|---|---|
| 50 | 320KB | 明显 | 缩略图 |
| 75 | 680KB | 轻微 | 网页展示 |
| 90 | 1.2MB | 几乎无 | 一般存储 |
| 95 | 1.8MB | 无 | 专业用途 |
批量保存的性能陷阱
去年做一个监控视频处理项目,需要保存10万帧图像。最初的代码:
python# 慢速版本(耗时:127秒)
for i, frame in enumerate(frames):
    cv2.imwrite(f'output/frame_{i:06d}.jpg', frame)
后来优化成这样:
pythonimport os
import cv2
import numpy as np
from concurrent.futures import ThreadPoolExecutor


def save_image(args):
    """单张图像保存函数"""
    img, path = args
    cv2.imwrite(path, img, [cv2.IMWRITE_JPEG_QUALITY, 85])


def batch_save_optimized(images, output_dir, prefix='frame'):
    """优化的批量保存"""
    os.makedirs(output_dir, exist_ok=True)

    # 准备保存任务
    tasks = [
        (img, os.path.join(output_dir, f'{prefix}_{i:06d}.jpg'))
        for i, img in enumerate(images)
    ]
    # 多线程并行保存
    with ThreadPoolExecutor(max_workers=8) as executor:
        executor.map(save_image, tasks)


# 生成示例图像数据
def create_sample_images(count=100):
    """创建示例图像列表"""
    images = []
    for i in range(count):
        # 创建随机彩色图像 (300x200)
        img = np.random.randint(0, 255, (200, 300, 3), dtype=np.uint8)
        images.append(img)
    return images


# 完整使用示例
if __name__ == "__main__":
    # 生成100张测试图像
    frames = create_sample_images(100)

    # 批量保存(多线程优化版本)
    print("开始批量保存...")
    batch_save_optimized(frames, 'output_fast', prefix='test_frame')
    print("保存完成!")

    # 验证结果
    saved_files = os.listdir('output_fast')
    print(f"成功保存 {len(saved_files)} 张图像")
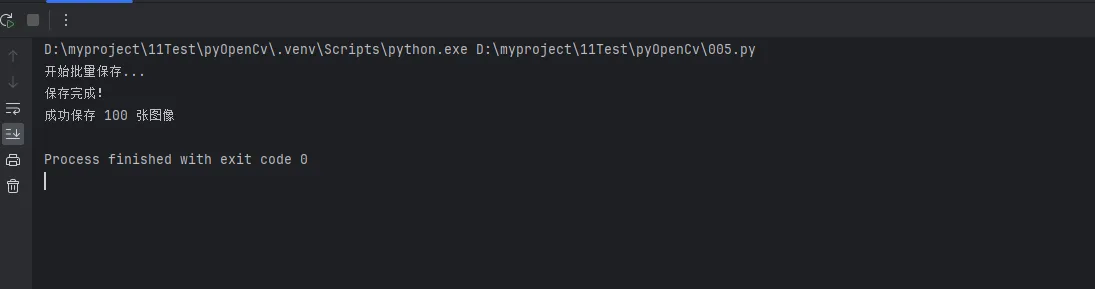
速度提升3.3倍!
关键优化点:
- 多线程并行写入(I/O密集型操作)
- 预先创建目录避免重复判断
- 适当降低JPEG质量(85已经足够好)
不同格式的选择策略
这是很多新手迷糊的地方。我总结了一个决策树:
需要保留透明通道? → 是:PNG → 否:继续判断
对文件大小敏感? → 是:JPEG(有损压缩,体积小) → 否:PNG(无损压缩,体积大)
需要后续编辑? → 是:PNG(避免多次保存累积损失) → 否:JPEG(最终展示用)
实际代码示例:
pythondef smart_save(img, base_path, transparent=False, editable=False):
    """智能选择保存格式"""
    if transparent or editable:
        # 使用PNG
        save_path = base_path + '.png'
        cv2.imwrite(save_path, img, [cv2.IMWRITE_PNG_COMPRESSION, 3])
        print(f"已保存为PNG:{save_path}")
    else:
        # 使用JPEG
        save_path = base_path + '.jpg'
        cv2.imwrite(save_path, img, [cv2.IMWRITE_JPEG_QUALITY, 90])
        print(f"已保存为JPEG:{save_path}")

    return save_path
保存失败的排查步骤
遇到保存失败时,按这个顺序排查:
pythondef debug_imwrite(image_path, img):
    """调试图像保存问题"""
    # 1. 检查目录是否存在
    directory = os.path.dirname(image_path)
    if directory and not os.path.exists(directory):
        print(f"⚠️ 目录不存在:{directory}")
        os.makedirs(directory, exist_ok=True)
        print("✓ 已自动创建目录")

    # 2. 检查图像数据有效性
    if img is None or img.size == 0:
        print("❌ 图像数据无效")
        return False

    # 3. 检查文件扩展名
    ext = os.path.splitext(image_path)[1].lower()
    supported = ['.jpg', '.jpeg', '.png', '.bmp', '.tiff', '.webp']
    if ext not in supported:
        print(f"⚠️ 不支持的格式:{ext}")
        print(f"支持的格式:{', '.join(supported)}")
        return False

    # 4. 尝试保存
    success = cv2.imwrite(image_path, img)
    if success:
        file_size = os.path.getsize(image_path) / 1024
        print(f"✓ 保存成功:{image_path} ({file_size:.1f} KB)")
    else:
        print(f"❌ 保存失败:{image_path}")

    return success
🎯 实战案例:批量图像格式转换器
把前面的知识点串起来,做个实用工具——批量转换图像格式并调整尺寸。
pythonimport cv2
import os
from pathlib import Path
import numpy as np


class ImageConverter:
    """图像格式转换工具类"""

    def __init__(self, input_dir, output_dir, target_format='jpg'):
        self.input_dir = Path(input_dir)
        self.output_dir = Path(output_dir)
        self.target_format = target_format.lower().lstrip('.')

        # 创建输出目录
        self.output_dir.mkdir(parents=True, exist_ok=True)

    def convert_batch(self, resize=None, quality=90):
        """批量转换"""
        # 支持的输入格式
        supported = ['*.jpg', '*.jpeg', '*.png', '*.bmp', '*.tiff']
        files = []
        for pattern in supported:
            files.extend(self.input_dir.glob(pattern))

        print(f"找到 {len(files)} 个图像文件")

        success_count = 0
        for file_path in files:
            try:
                # 读取(支持中文路径)
                img = cv2.imdecode(
                    np.fromfile(str(file_path), dtype=np.uint8),
                    cv2.IMREAD_UNCHANGED
                )

                if img is None:
                    print(f"⚠️ 跳过无法读取的文件:{file_path.name}")
                    continue

                # 调整尺寸(可选)
                if resize:
                    img = cv2.resize(img, resize, interpolation=cv2.INTER_AREA)

                # 生成输出路径
                output_name = file_path.stem + f'.{self.target_format}'
                output_path = self.output_dir / output_name

                # 保存
                if self.target_format in ['jpg', 'jpeg']:
                    cv2.imwrite(str(output_path), img,
                                [cv2.IMWRITE_JPEG_QUALITY, quality])
                else:
                    cv2.imwrite(str(output_path), img,
                                [cv2.IMWRITE_PNG_COMPRESSION, 3])

                success_count += 1
                print(f"✓ {file_path.name} → {output_name}")

            except Exception as e:
                print(f"❌ 处理失败 {file_path.name}:{str(e)}")

        print(f"\n转换完成:{success_count}/{len(files)}")


# 使用示例
converter = ImageConverter(
    input_dir='D:/myproject/11Test/pyOpenCv/output_fast',
    output_dir='D:/myproject/11Test/pyOpenCv/output_fast_converted',
    target_format='jpg'
)
converter.convert_batch(resize=(800, 600), quality=85)
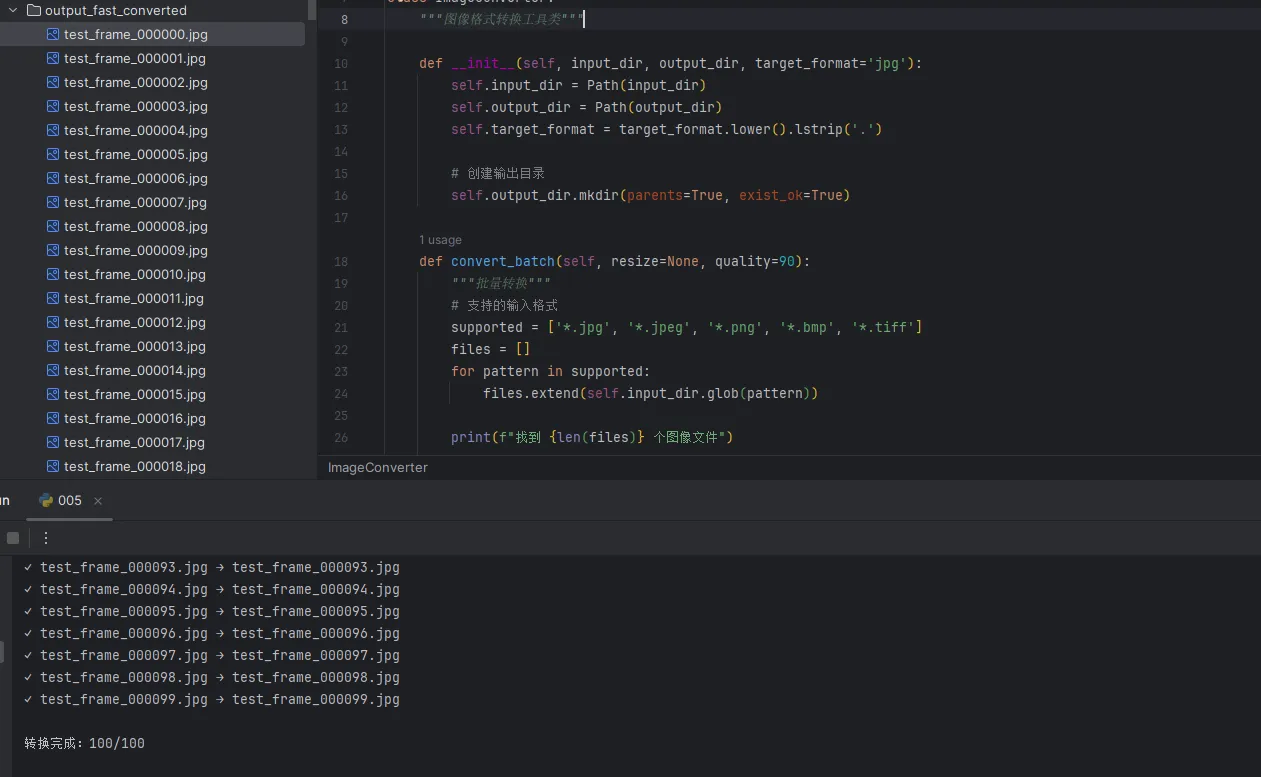
这个工具我在项目里用了很多次。特别是接手别人数据时,图像格式五花八门,统一转换能省不少麻烦。
📌 三个核心收获
-
读取:永远做容错处理
imread()返回None是常态,中文路径要特殊处理,模式选择影响性能。 -
显示:根据环境选方案 脚本用
imshow(),Jupyter用matplotlib,批量对比要拼接显示。 -
保存:格式和质量要权衡 PNG无损但大,JPEG有损但小,批量操作必须并行优化。
一句话总结:图像的基础操作看似简单,但细节决定了代码的健壮性和运行效率。
🚀 进阶学习路径
掌握了读取、显示、保存,接下来可以深入:
- 图像基本变换:缩放、旋转、裁剪、翻转
- 色彩空间转换:BGR ↔ RGB ↔ HSV ↔ Gray
- 图像滤波:平滑处理、锐化、降噪
- 形态学操作:腐蚀、膨胀、开闭运算
- 特征检测:边缘检测、角点检测、轮廓提取
每个方向都有大量实战技巧等你挖掘。
💬 互动话题:你在图像处理时遇到过哪些奇怪的bug?评论区聊聊,说不定能帮到正在踩坑的人。
🔖 收藏价值:文中的safe_imread()、imshow_adaptive()、batch_save_optimized()三个函数可以直接复用到项目中,建议保存备用。
📌 相关标签:#Python开发 #OpenCV教程 #图像处理 #计算机视觉 #编程实战
写在最后:基础不牢,地动山摇。图像读写这些看似简单的操作,往往是大型项目里最容易出问题的地方。把这些细节吃透,后面做复杂的视觉算法才能游刃有余。
加油,代码写起来!👨💻
本文作者:技术老小子
本文链接:
版权声明:本博客所有文章除特别声明外,均采用 BY-NC-SA 许可协议。转载请注明出处!