
Press Ctrl+ and K to search
简介
Xabe.FFmpeg 是一个优秀的 .NET FFmpeg 封装库,它提供了简单易用的 API 来处理音视频文件。本文将详细介绍如何使用 Xabe.FFmpeg 获取视频的元数据信息。
准备工作
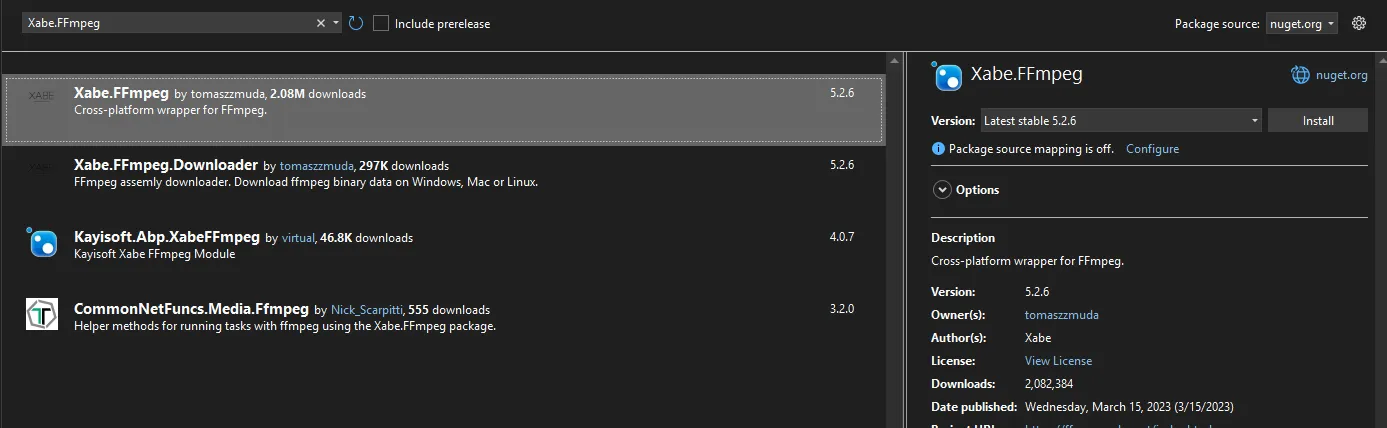
首先需要通过 NuGet 安装 Xabe.FFmpeg 包:
XML<PackageReference Include="Xabe.FFmpeg" Version="5.2.6" />
视频水印是保护版权、标识视频来源的重要技术。本文将详细介绍如何使用C#和FFmpeg为视频添加水印,并提供多种实现方式。
准备工作
环境依赖
- .NET Framework 4.7.2 或更高版本
- FFmpeg(需要下载并配置系统环境变量)
- NuGet包:Xabe.FFmpeg
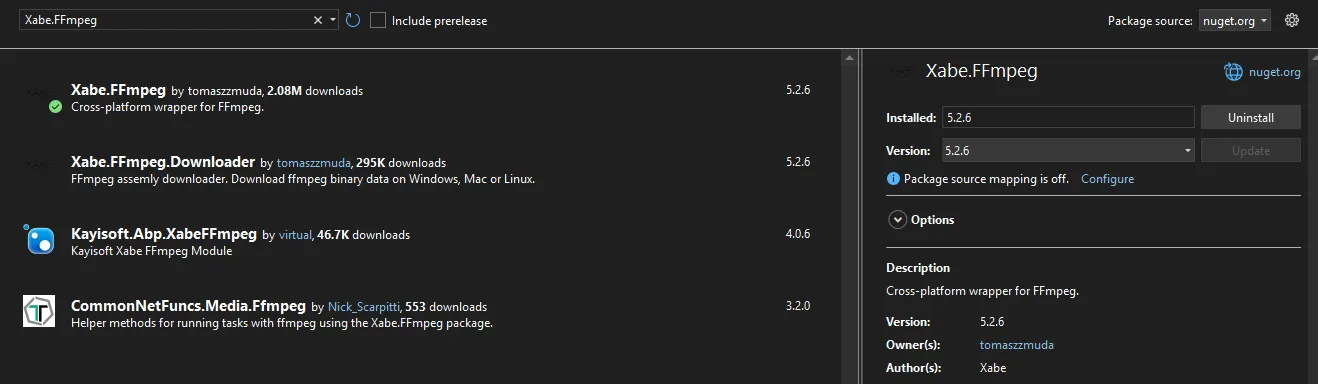
安装NuGet包
使用Package Manager Console安装:
PowerShellInstall-Package Xabe.FFmpeg
基本水印实现
文字水印
C#using System;
using System.Collections.Generic;
using System.Linq;
using System.Text;
using System.Threading.Tasks;
using Xabe.FFmpeg;

namespace App08
{
    public class VideoWatermarker
    {

        /// <summary>
        /// 为视频添加文字水印
        /// </summary>
        /// <param name="inputVideo">输入视频路径</param>
        /// <param name="outputVideo">输出视频路径</param>
        /// <param name="watermarkText">水印文字内容</param>
        public async Task AddTextWatermarkAsync(
            string inputVideo,
            string outputVideo,
            string watermarkText)
        {
            try
            {
                // 确保已设置 FFmpeg 执行文件路径
                FFmpeg.SetExecutablesPath("D:\\Software\\ffmpeg-master-latest-win64-gpl-shared\\bin");

                // 创建转换
                IMediaInfo mediaInfo = await FFmpeg.GetMediaInfo(inputVideo);

                // 配置转换参数
                var conversion = FFmpeg.Conversions.New()
                    .AddStream(mediaInfo.VideoStreams)
                    .AddStream(mediaInfo.AudioStreams)
                    .AddParameter($"-vf \"drawtext=fontfile=msyh.ttc:" +
                        $"text='{watermarkText}':" +
                        "fontcolor=white:" +
                        "fontsize=24:" +
                        "box=1:" +
                        "boxcolor=black@0.5:" +
                        "boxborderw=5:" +
                        "x=(w-text_w)/2:" +
                        "y=(h-text_h)/2\"")
                    .SetOutput(outputVideo);

                // 执行转换
                await conversion.Start();
            }
            catch (Exception ex)
            {
                Console.WriteLine($"水印添加失败:{ex.Message}");
                throw;
            }
        }
    }
}
C#static async Task Main(string[] args)
{
    VideoWatermarker watermarker = new VideoWatermarker();
    await watermarker.AddTextWatermarkAsync("D:\\Video\\1.mp4", "d:\\output.mp4", "IDIOSOFT");
}
在视频处理中,调整帧率(FPS - Frames Per Second)是一个常见的需求。本文将介绍如何使用C#配合Xabe.FFmpeg库来实现视频帧率的调整。
环境准备
- 安装FFmpeg
- 下载FFmpeg: https://ffmpeg.org/download.html
HTMLhttps://ffmpeg.org/download.html
- 将FFmpeg添加到系统环境变量
2. 安装NuGet包
BashInstall-Package Xabe.FFmpeg
本文将介绍如何使用C#和Xabe.FFmpeg库来实现音频文件的合并功能。我们将创建一个功能完整的音频合并器,支持进度显示和质量控制。
准备工作
首先需要安装必要的NuGet包:
PowerShellInstall-Package Xabe.FFmpeg
下载FFmpeg可执行文件,可以从FFmpeg官网下载。
视频合并是多媒体处理中常见的需求,无论是拼接分段视频、创建视频集锦,还是处理长视频分片,使用 FFmpeg 都是一个高效的解决方案。本文将详细介绍如何使用 C# 和 Xabe.FFmpeg 库实现视频合并。
准备工作
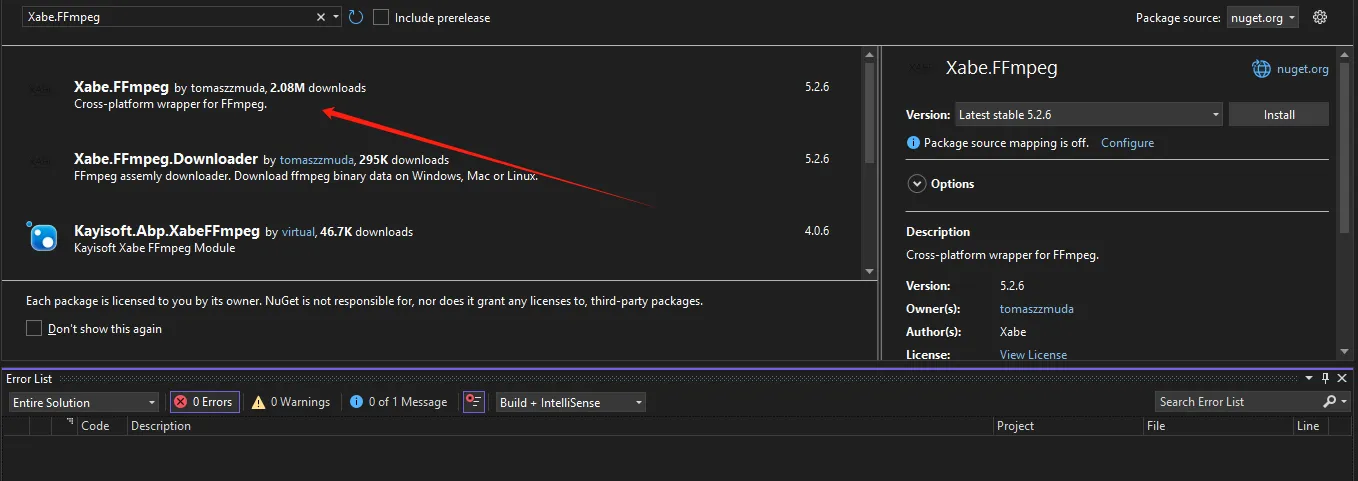
安装必要的 NuGet 包
首先,在 Visual Studio 中安装 Xabe.FFmpeg NuGet 包:
BashInstall-Package Xabe.FFmpeg
下载 FFmpeg
确保系统中已安装 FFmpeg:
Windows: 可以使用 Chocolatey
Bash# 使用 Chocolatey
choco install ffmpeg
下载FFmpeg:
HTMLhttps://ffmpeg.org/download.html