Press Ctrl+ and K to search
CommunityToolkit.Mvvm提供了强大的异步编程支持,通过IAsyncRelayCommand和AsyncRelayCommand等类型,使得在MVVM架构中处理异步操作变得简单而优雅。本文将详细介绍如何在WinForm应用中使用这些特性。
核心组件
主要异步命令类型
IAsyncRelayCommand- 异步命令接口AsyncRelayCommand- 基础异步命令实现AsyncRelayCommand<T>- 带参数的异步命令实现
异步命令特性
- 自动管理执行状态
- 取消操作支持
- 异常处理
- 执行状态追踪
实战示例
基础项目设置
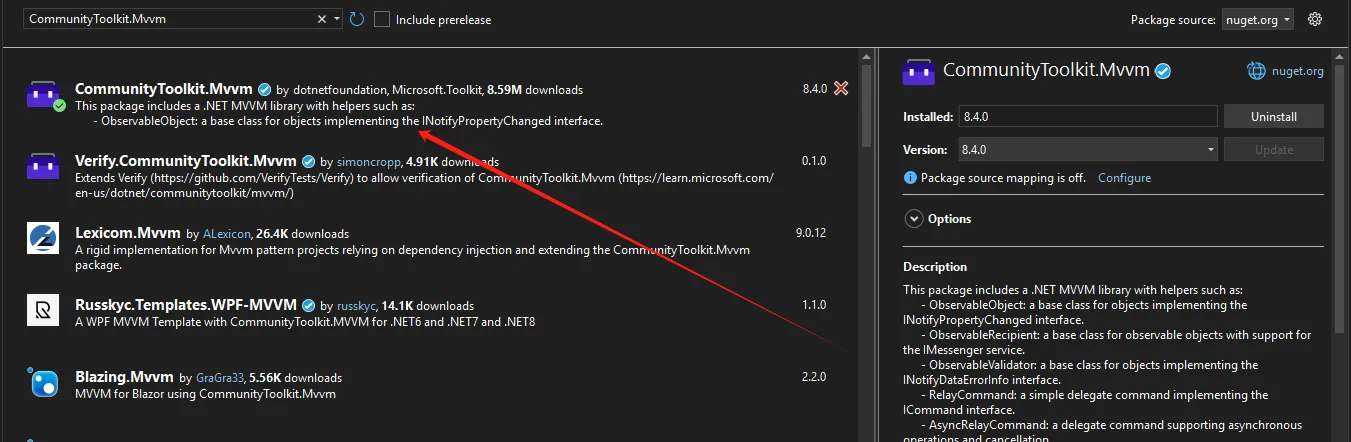
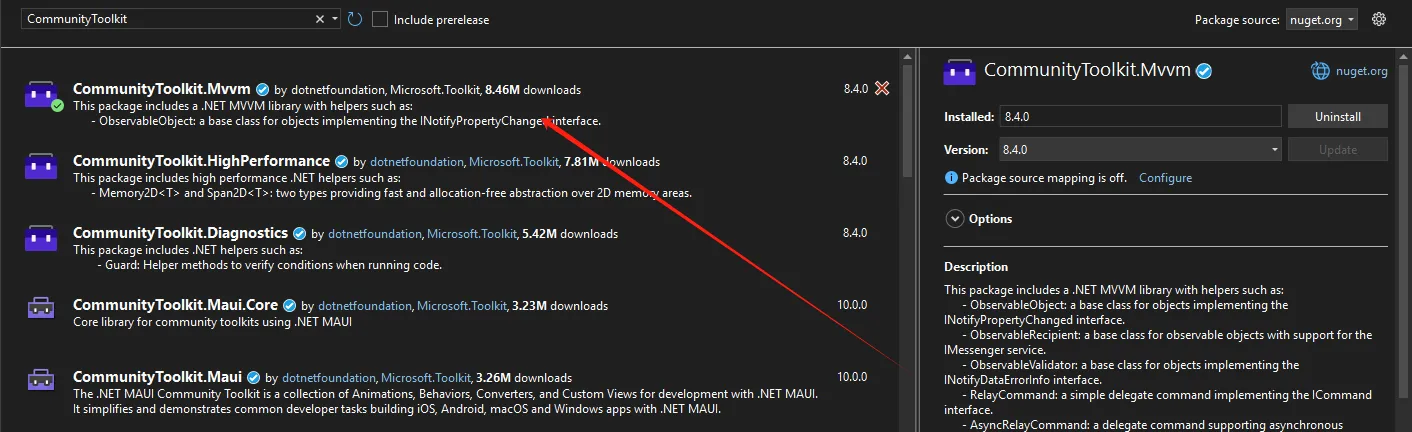
首先创建一个WinForm项目,添加必要的NuGet包:
XML<PackageReference Include="CommunityToolkit.Mvvm" Version="8.4.0" />
概述
本文将详细介绍如何在 WinForm 应用程序中使用 CommunityToolkit.Mvvm 结合依赖注入实现 MVVM 模式。我们将通过一个具体的示例来展示整个实现过程。
环境准备
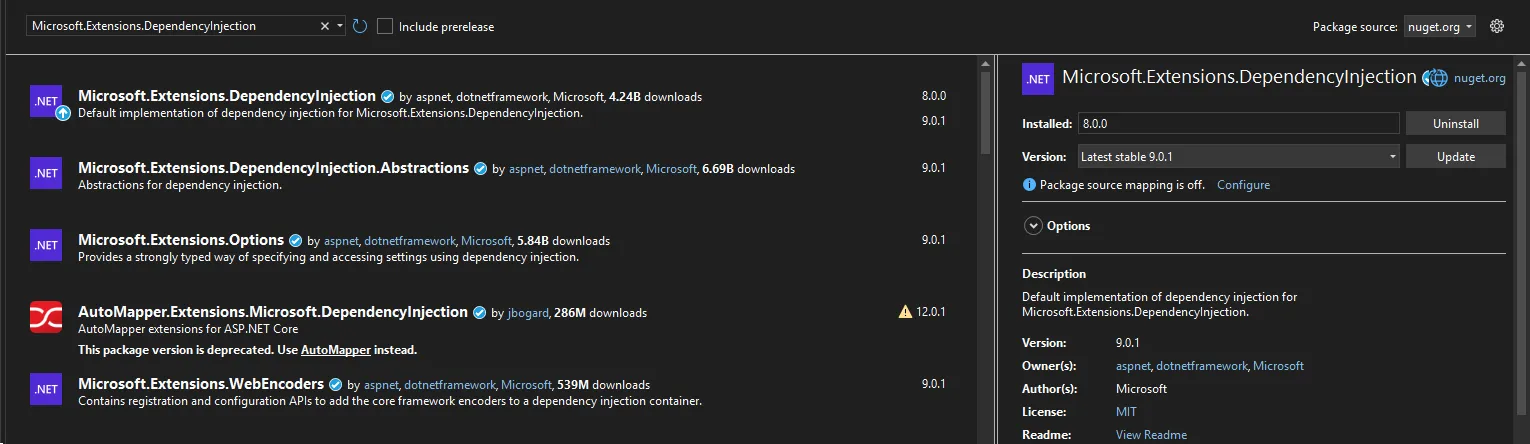
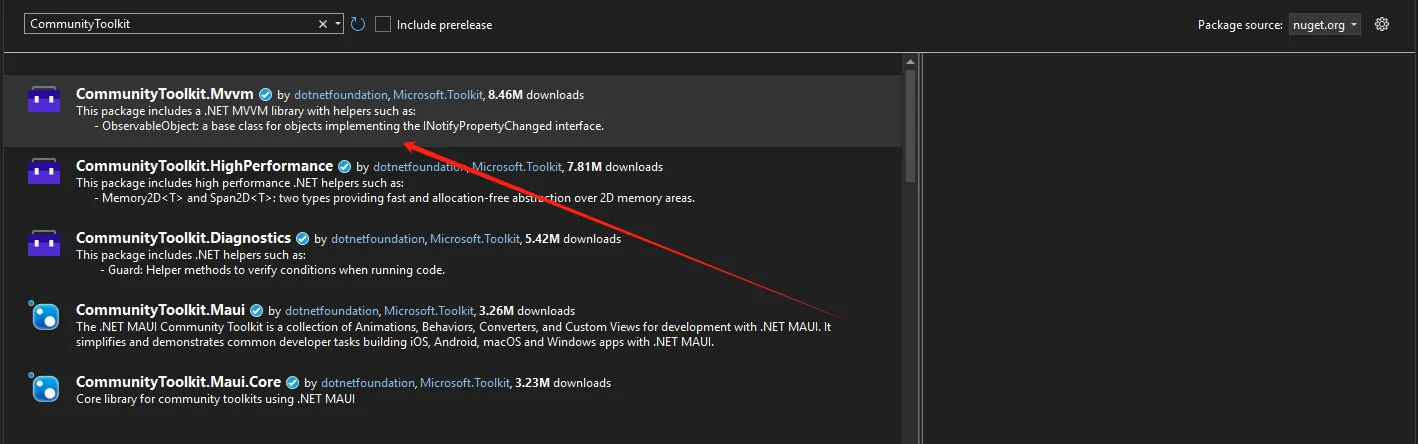
首先需要安装以下 NuGet 包:
XML<PackageReference Include="CommunityToolkit.Mvvm" Version="8.4.0" />
<PackageReference Include="Microsoft.Extensions.DependencyInjection" Version="8.0.0" />
项目结构
C#├── Models
│   └── UserModel.cs
├── ViewModels
│   └── MainViewModel.cs
├── Views
│   └── MainForm.cs
├── Services
│   └── IUserService.cs
│   └── UserService.cs
└── Program.cs
简介
WeakReferenceMessenger 是 CommunityToolkit.Mvvm 库中提供的一个轻量级消息传递工具,它使用弱引用来存储消息接收者,可以有效防止内存泄漏。本文将详细介绍其使用方法和最佳实践。
主要特点
- 使用弱引用存储接收者,避免内存泄漏
- 支持强类型消息
- 支持不同接收者接收同一类型消息
- 支持消息过滤
- 线程安全
基本使用方法
安装包
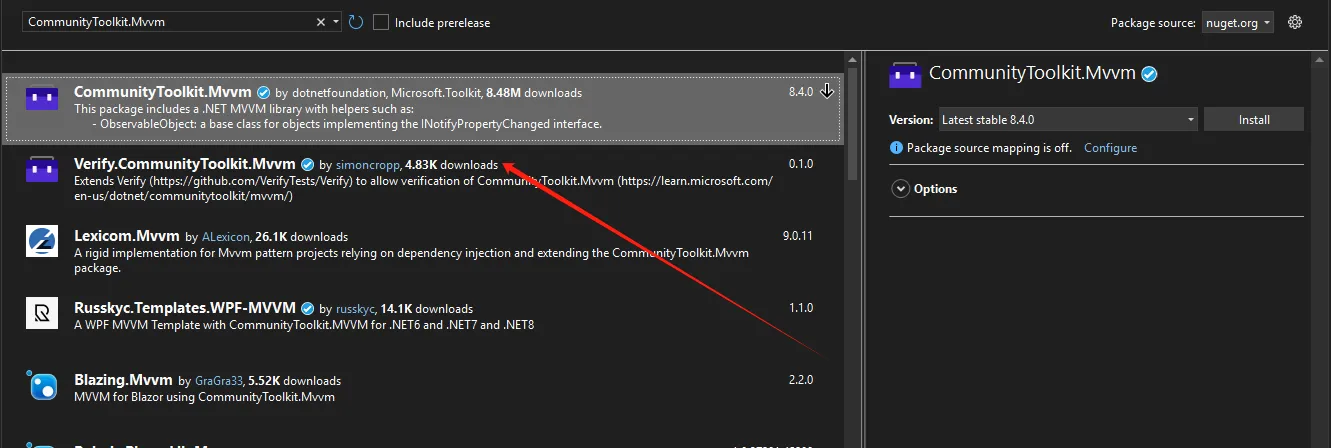
首先需要通过 NuGet 安装 CommunityToolkit.Mvvm 包:
Bashdotnet add package CommunityToolkit.Mvvm
定义消息类
C#// 定义一个简单的消息类
public class UserMessage
{
    public string Content { get; }

    public UserMessage(string content)
    {
        Content = content;
    }
}
概述
IMessenger 是 CommunityToolkit.Mvvm 中的核心消息传递接口,提供了一种松耦合的通信机制,允许应用程序中的不同组件之间高效地交换消息。本文将详细探讨 IMessenger 的使用方法和最佳实践。
Nuget 安装包
消息类型定义
在使用 IMessenger 时,我们需要定义清晰的消息类型。以下是消息类型的推荐设计:
C#// 定义基础消息类型
public class BaseMessage
{
    public DateTime Timestamp { get; set; } = DateTime.Now;
}

// 具体的消息类型
public class UserMessage : BaseMessage
{
    public string Username { get; set; }
    public string Content { get; set; }
}

public class SystemNotificationMessage : BaseMessage
{
    public string NotificationType { get; set; }
    public string Message { get; set; }
}
概述
在现代 .NET 应用程序开发中,CommunityToolkit.Mvvm 提供了强大的命令实现机制,特别是 [RelayCommand] 特性和 IRelayCommand 接口,极大地简化了 MVVM 模式下的命令绑定和处理。
Nuget 安装包
[RelayCommand] 特性基础
基本用法
[RelayCommand] 特性允许你快速创建命令,无需手动编写样板代码。
C#using System;
using System.Collections.Generic;
using System.Linq;
using System.Text;
using System.Threading.Tasks;
using CommunityToolkit.Mvvm.ComponentModel;
using CommunityToolkit.Mvvm.Input;
namespace App08
{
public partial class UserViewModel: ObservableObject
{
// 简单命令
[RelayCommand]
private void SaveUser()
{
// 保存用户逻辑
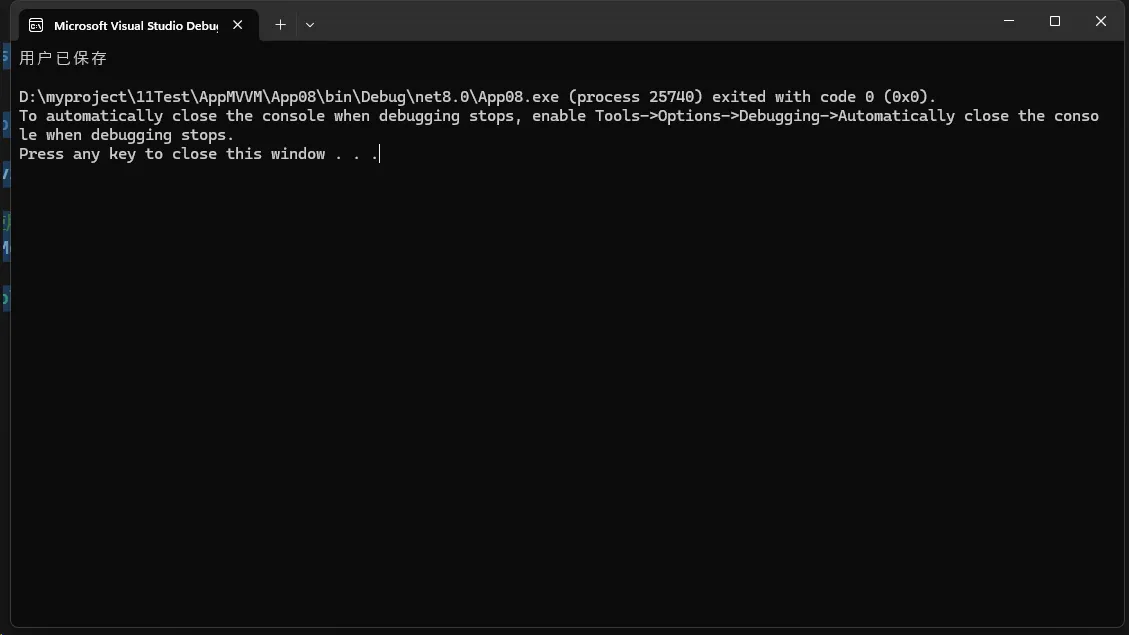
Console.WriteLine("用户已保存");
}
}
}
C#namespace App08
{
    internal class Program
    {
        static void Main(string[] args)
        {
            var viewModel = new UserViewModel();

            // 使用生成的命令属性
            viewModel.SaveUserCommand.Execute(null);

            Console.ReadKey();
        }
    }
}